Creating a .NET Cron Job for Kubernetes

Oftentimes, we need to run tasks on a schedule, and often these tasks are long-running, but we don’t want to leave an application running all the time to work on a schedule. Often in Linux, sysadmins configure crontabs to achieve this, running a program on a specified schedule. Kubernetes also has this construct, allowing containers to be run on a schedule as pods in the background, on any host in the cluster. In this post, I’ll walk you through how to create a background task with C# and .NET 7 in Kubernetes.
Prerequisites
- The dotnet CLI or Visual Studio 2022 installed on your machine
- Docker needs to be installed as well
- A Kubernetes environment with version >= v1.21 and kubectl access
- A container registry with write access, like ghcr.io or Docker Hub
Getting Started
Start with creating the C# project.
With the dotnet CLI
If you’re using Visual Studio, skip to the section here
# Create a cron job
mkdir MyCronJob
cd MyCronJob
dotnet new sln --name MyCronJob

# Create the project and add it to the solution
dotnet new console --output ./MyCronJob
dotnet sln add ./MyCronJob/MyCronJob.csproj

# Run the project to build it and test it out
cd ./MyCronJob
dotnet run
After running you should see the following:
Hello, World!Install the nuget dependencies:
dotnet add package Microsoft.Extensions.Hosting --version 7.0.1
dotnet add package Microsoft.VisualStudio.Azure.Containers.Tools.Targets --version 1.17.0
Now open your editor of choice and change/add the following files:
MyCronJob/Program.cs
using MyCronJob;

IHost host = Host.CreateDefaultBuilder(args)
    .ConfigureServices(services =>
    {
        services.AddHostedService<Worker>();
    })
    .Build();

await host.RunAsync();
MyCronJob/Worker.cs
namespace MyCronJob;

public class Worker : BackgroundService
{
    private readonly ILogger<Worker> _logger;

    public Worker(ILogger<Worker> logger)
    {
        _logger = logger;
    }

    protected override async Task ExecuteAsync(CancellationToken stoppingToken)
    {
        // while (!stoppingToken.IsCancellationRequested)
        // {
            _logger.LogInformation("Worker running at: {time}", DateTimeOffset.Now);
            await Task.Delay(1000, stoppingToken);
        // }
    }
}
MyCronJob/Dockerfile
FROM mcr.microsoft.com/dotnet/runtime:7.0 AS base
WORKDIR /app

FROM mcr.microsoft.com/dotnet/sdk:7.0 AS build
WORKDIR /src
COPY ["MyCronJob/MyCronJob.csproj", "MyCronJob/"]
RUN dotnet restore "MyCronJob/MyCronJob.csproj"
COPY . .
WORKDIR "/src/MyCronJob"
RUN dotnet build "MyCronJob.csproj" -c Release -o /app/build

FROM build AS publish
RUN dotnet publish "MyCronJob.csproj" -c Release -o /app/publish

FROM base AS final
WORKDIR /app
COPY --from=publish /app/publish .
ENTRYPOINT ["dotnet", "MyCronJob.dll"]
.dockerignore
**/.classpath
**/.dockerignore
**/.env
**/.git
**/.gitignore
**/.project
**/.settings
**/.toolstarget
**/.vs
**/.vscode
**/*.*proj.user
**/*.dbmdl
**/*.jfm
**/azds.yaml
**/bin
**/charts
**/docker-compose*
**/Dockerfile*
**/node_modules
**/npm-debug.log
**/obj
**/secrets.dev.yaml
**/values.dev.yaml
LICENSE
README.md
MyCronJob/appsettings.json
{
  "Logging": {
    "LogLevel": {
      "Default": "Information",
      "Microsoft.Hosting.Lifetime": "Information"
    }
  }
}
Lastly, change the project SDK in the .csproj file to be the worker service SDK. You can find this at the very top of the file:
<Project Sdk="Microsoft.NET.Sdk.Worker">With Visual Studio
If you have already created your project with the CLI, you can skip ahead to here.
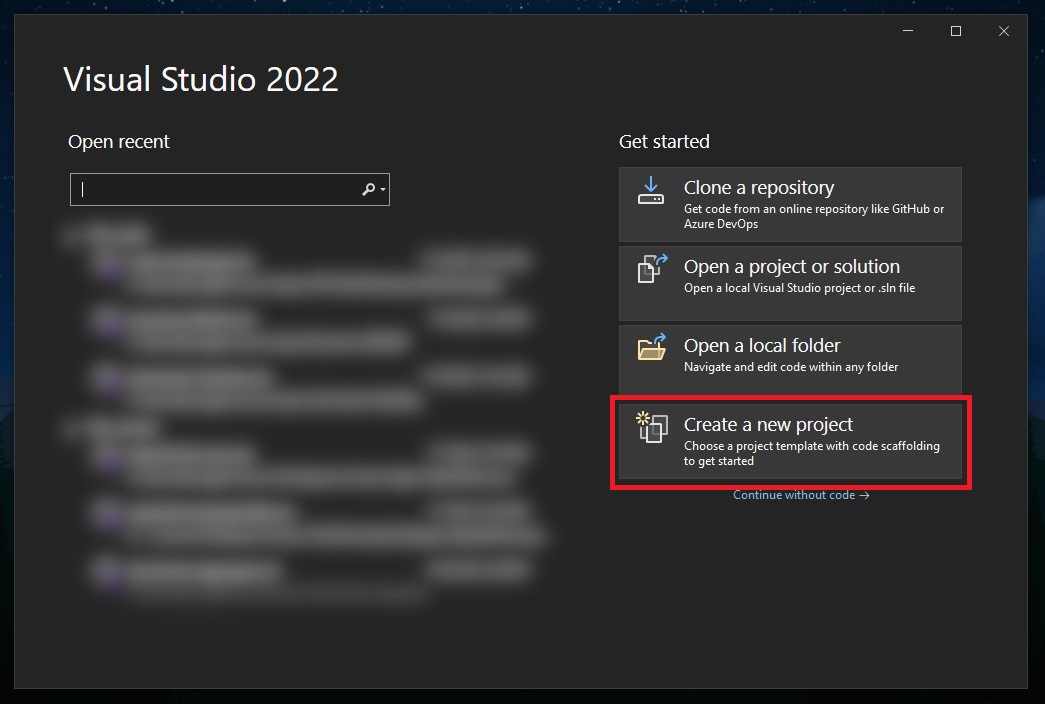
Open the Visual Studio Launcher and click “Create a new project”:
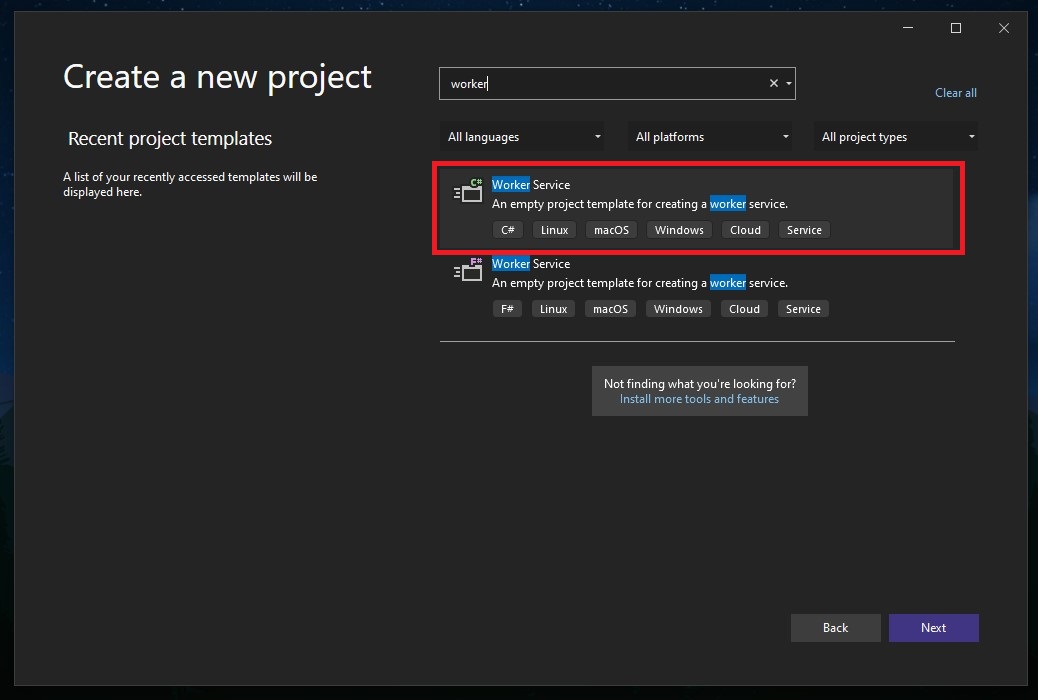
Then search for and select the Worker Service project template:
Set the project name to MyCronJob:
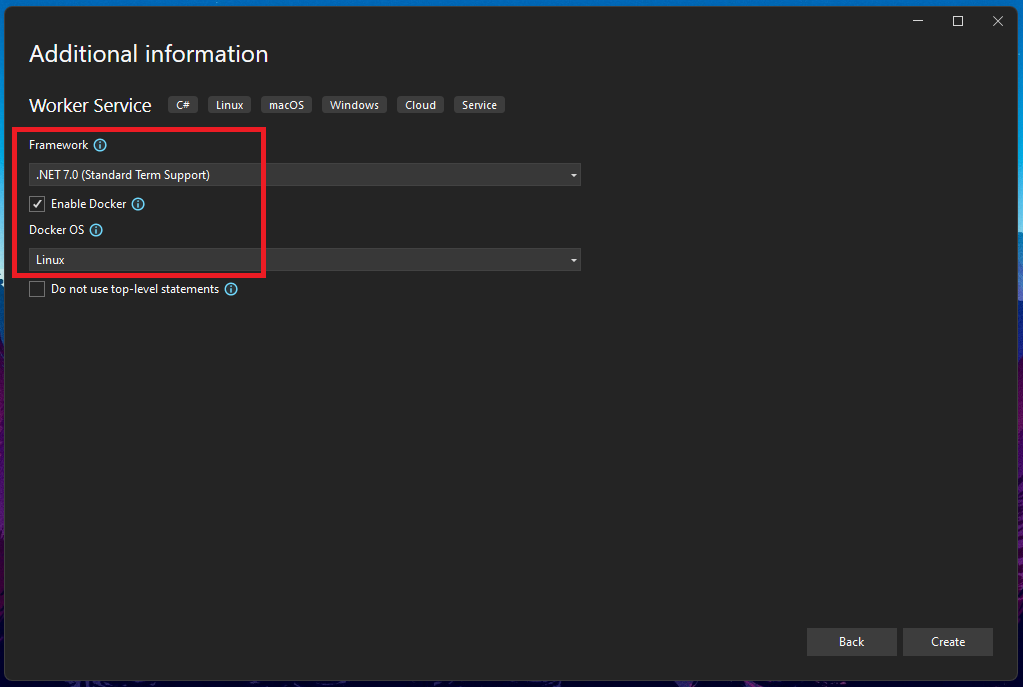
 Select .NET 7 as a runtime and also enable Docker support:
Make sure you comment out the lines in this file so your cron job actually exits and doesn’t run in an infinite loop:
MyCronJob/Worker.cs
namespace MyCronJob;

public class Worker : BackgroundService
{
    private readonly ILogger<Worker> _logger;

    public Worker(ILogger<Worker> logger)
    {
        _logger = logger;
    }

    protected override async Task ExecuteAsync(CancellationToken stoppingToken)
    {
        // while (!stoppingToken.IsCancellationRequested)
        // {
            _logger.LogInformation("Worker running at: {time}", DateTimeOffset.Now);
            await Task.Delay(1000, stoppingToken);
        // }
    }
}
Kubernetes Things
You now have a fully featured .NET worker service ready to go! Now we need to add our configuration files that tell Kubernetes how to run our cron job. I like to place my config file for Kubernetes in the root of my project alongside my Dockerfile. If you need to build a new schedule you can use this tool at crontab.guru.
MyCronJob/kube.yml
kind: CronJob
metadata:
  name: mycronjob
spec:
  schedule: "*/5 * * * *" # Runs every 5 minutes
  jobTemplate:
    spec:
      template:
        spec:
          containers:
          - name: mycronjob
            image: << registry url (we'll fill this in next) >>
            env:
          restartPolicy: OnFailure
Building and Pushing our Container
Now we need to have Docker build our container and we need to push it to our repository. At this point, make sure your Docker install is logged into your registry provider. In practice, these builds and pushes would be handled as part of a CI pipeline. This reduces the amount of manual work you have to do locally when pushing out code changes and would standardize the process for deploying so all build tags are in the correct sequential order and that they make sense. I’ll probably cover setting up one of these pipelines in Azure DevOps in a future blog post. For the sake of this article though, we’ll just build and push from our local machine to get up and running.
Let’s get started with building the project. Open a terminal and cd into the root of the solution. Then run the following to start the Docker build of your cron job:
docker build . -f ./MyCronJob/Dockerfile -t mycronjob:latestThen go ahead and test it by running the container image:
docker run -it mycronjob:latestYou should see something like this:
info: MyCronJob.Worker[0]
      Worker running at: 07/29/2022 21:51:43 +00:00
info: Microsoft.Hosting.Lifetime[0]
      Application started. Press Ctrl+C to shut down.
info: Microsoft.Hosting.Lifetime[0]
      Hosting environment: Production
info: Microsoft.Hosting.Lifetime[0]
      Content root path: /app
info: MyCronJob.Worker[0]
      Worker running at: 07/29/2022 21:51:44 +00:00
...
Press Ctrl+C to stop it from running. Now to push the container to your registry:
docker image push --all-tags my-registry-host/mycronjob:latestMake sure to replace the text my-registry-host with your registry, or remove it if you’re using docker hub. Now, replace the line in your kube.yml file with the registry reference above:
kind: CronJob
metadata:
  name: mycronjob
spec:
  schedule: "*/5 * * * *" # Runs every 5 minutes. Build new schedule here: https://crontab.guru/
  jobTemplate:
    spec:
      template:
        spec:
          containers:
          - name: mycronjob
            image: my-registry-host/mycronjob:latest # HERE
            env:
          restartPolicy: OnFailure
Deploying to Kubernetes
We now have a .NET Cron job built, and we have it pushed up to a container image registry. Now, we do the final step, we need to deploy the manifest file to Kubernetes. Make sure you have kubectl set up and working on your machine and then run the following command to deploy the job configuration:
kubectl create -f ./MyCronJob/kube.ymlThen, wait at least 5 minutes for the job to run, and then verify that the cron job is deployed:
Then let’s get the list of pods in the namespace:
ben@mynode1:~$ kubectl get pods
NAME                                                   READY   STATUS      RESTARTS       AGE
... truncated ...
mycronjob-27652200-7blsn                               0/1     Completed   0              18m
Then grab the logs from the pod to verify it ran:
ben@mynode1:~$ kubectl logs mycronjob-27652200-7blsn
.... logs like above ....
info: MyCronJob.Worker[0]
      Worker running at: 07/29/2022 21:51:43 +00:00
info: Microsoft.Hosting.Lifetime[0]
      Application started. Press Ctrl+C to shut down.
info: Microsoft.Hosting.Lifetime[0]
      Hosting environment: Production
info: Microsoft.Hosting.Lifetime[0]
      Content root path: /app
info: MyCronJob.Worker[0]
      Worker running at: 07/29/2022 21:51:44 +00:00
...
Conclusion
If you’ve made it this far, you’ve created a .NET Cron Job and scheduled it to run within Kubernetes! Using this project framework, you can set up this job to do anything you’d like on a schedule. You can also take this framework and implement a CI/CD pipeline around it for easily automated deployments. As I stated above, I’ll probably have a blog post soon covering the process of implementing that with Azure DevOps. As usual, if there’s something wrong, or you even just have questions or suggestions for this blog post, please don’t hesitate to submit an issue here on Github.

Written by Ben Brougher who lives and works in the Pacific Northwest developing solutions to problems (usually with software). He graduated 2020 from Eastern Washington University as a Computer Science Major, Bachelor of Science (BS), and works engineering and developing software solutions in the enterprise telecommunications industry.